June 24, 2020
Campus Ambassador Malik Stroughter shares how he’s been relaxing during quarantine and gives some tips and tricks below to help relieve stress and refocus energy to a positive place.
Hello! This blog will give a few basics on sketching and using a brush pen. Though I will bring up a bunch of different ideas, I like to sketch as a relaxing tool to free my mind. I hope you’ll give it a try!
Materials
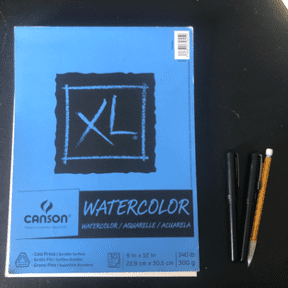
I did this drawing using a standard mechanical pencil, a black ink brush pen, and watercolor paper. Watercolor paper isn’t necessary but I prefer it because it doesn’t warp when a lot of ink is used.

Subject
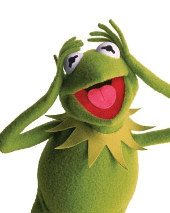
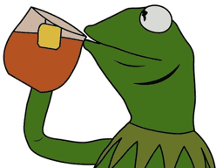
When finding the subject you will be drawing, it helps to find a picture that has a range of values, basically anything with shadows and highlights. This will help the drawing look less flat. An example of an image with values is below. The Kermit on the left has shadows and highlights, and the Kermit on the right is flat. I chose to draw the Kermit on the left because of the values.
Sketch
Once I have my materials and subject, I find a podcast to listen to, wash my hands, and sit in a comfortable chair to start the sketch.
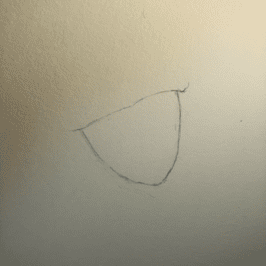
When doing the outline sketch the best way for me to start is to have a shape that is used for reference for all of the other lines to be put next to. For example, I drew the mouth first and because it is in the center of the face. It is easier to plot out the face in relation to the points of the mouth than say the eyes. However, when drawing a person I will often start with the eyes since they are harder to adjust if there is a mistake later on.
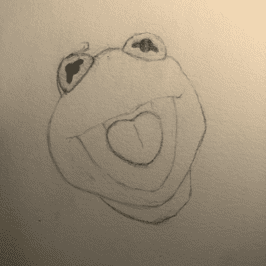
If I’m working on a bigger sketch, I will use grids as a map to make sure everything is proportional when I don’t have an easy to judge reference for distances. There are apps that put grids on pictures for you, and then you just measure and draft that grid out on the paper, but be sure to use light lines if you do this so that you can erase them later.
Using shapes and angles to judge the distance is extremely useful. I visualize triangles everywhere, think about distances in terms of ½, ⅓ , etc.. and decide on angles either by the reference shape or by the horizontal and vertical lines of the paper. Once I have a basic shape in mind, I stylize it with the same curves as the picture. When the shape doesn’t look right, I just use those tools to get it closer to life. This technique is why my lines look kind of scratchy; I am always trying to find the line, and it works well for me, although a steady decided pencil stroke has its benefits as well.
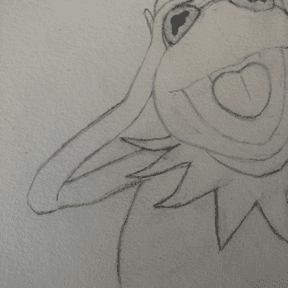
Inking the Outline
When inking in the lines, especially when using a brush pen, it is a good idea to test different pressures and angles as they affect the line thickness and smoothness. Since Kermit is not smooth, my lines won’t be either.
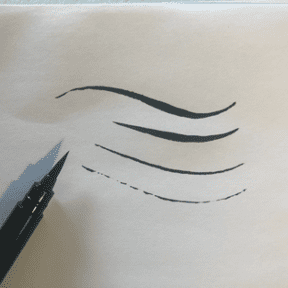
I’m right handed so I start from the left side of the drawing and go right so the ink doesn’t smudge.
Shading
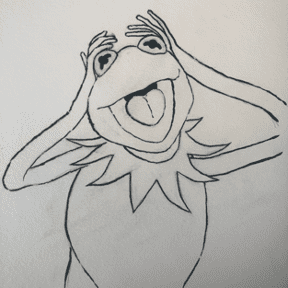
There are plenty of ways to shade a drawing, but my favorite is when I have a good texture to mimic like with this Kermit puppet. With a rough textured surface, shading in ink can be more interesting than the classic hatching or cross hatching. Here I tried to add an interesting splotched gradient to match the texture at different light levels.
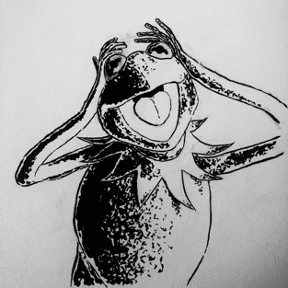
When I’m done with a black and white drawing, I take a picture and recolor it to desaturate it and boost the contrast a little and there it is!
Hope this helps your mind to escape for a moment during summer 2020, stay well.
Written by Campus Ambassador Malik Stroughter.